Pie Crust

|
One of the scariest things I've ever tackled in the kitchen is making a pie crust. Simple ingredients, quick procedures, right? But totally mysterious even so. I'd heard over and over again that the whole thing about pie crust was keeping everything as cold as possible. Why? So the fat (shortening, lard, butter, or margarine) will stay in pieces, then melt and steam to make a flaky crust! Oh, I get it. You know what that means? Keep your warm hands off the dough as much as you can, and keep everything chilled!
|
|
Ingredients:
Flour Salt Fat Ice water Yes, those are the only ingredients. What changes is your preference of fat, and how much dough you need. I really enjoy using vegetable shortening (we call it Crisco) or butter flavored shortening. Butter and margarine are supposed to work the same Here are the amounts for each kind of pie: SINGLE CRUST
Keep everything as cold as possible when making a pie crust.
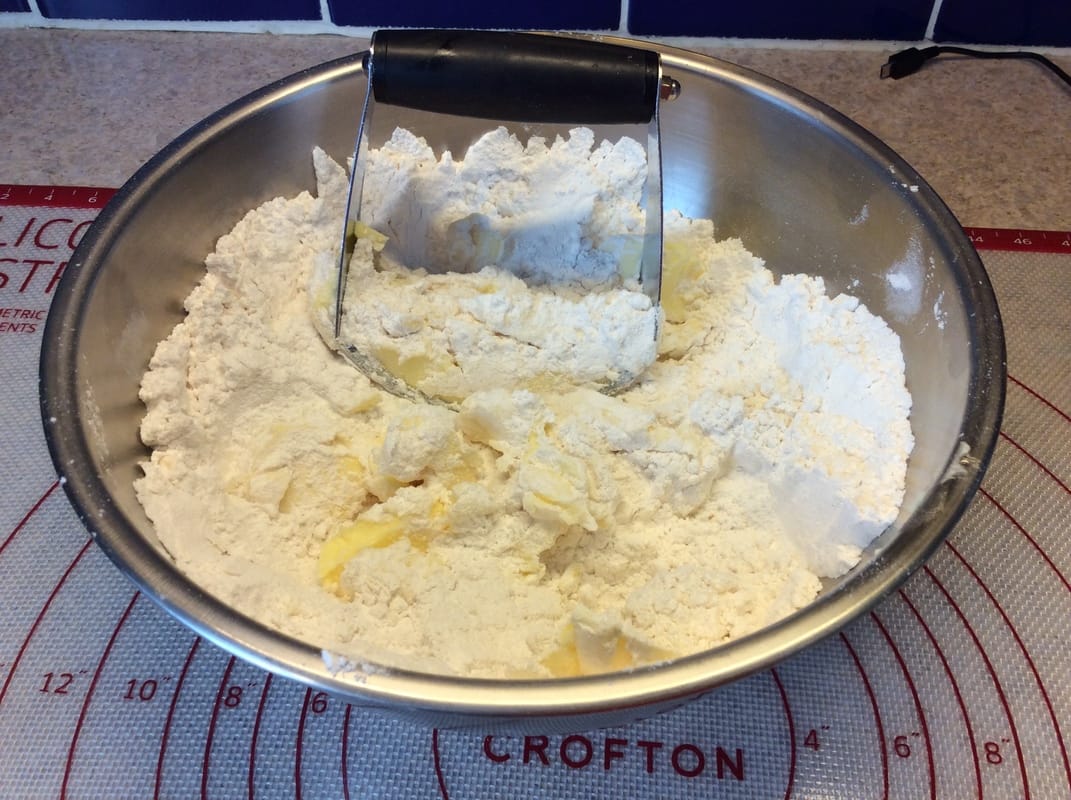
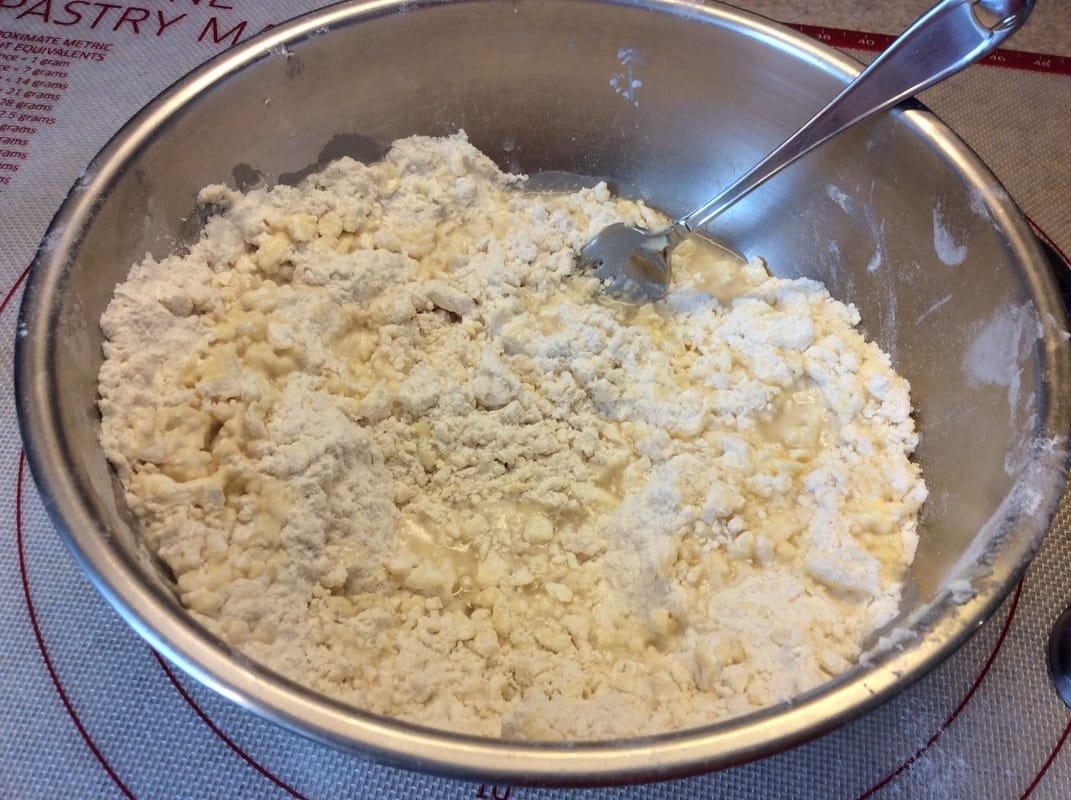
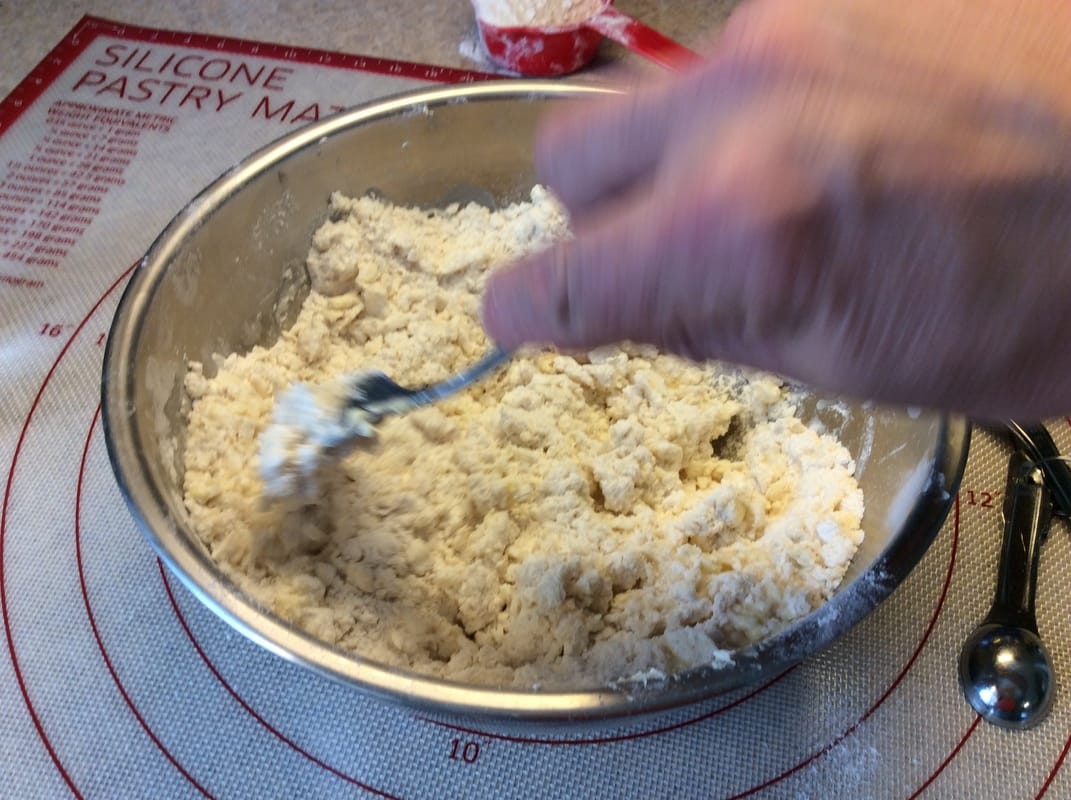
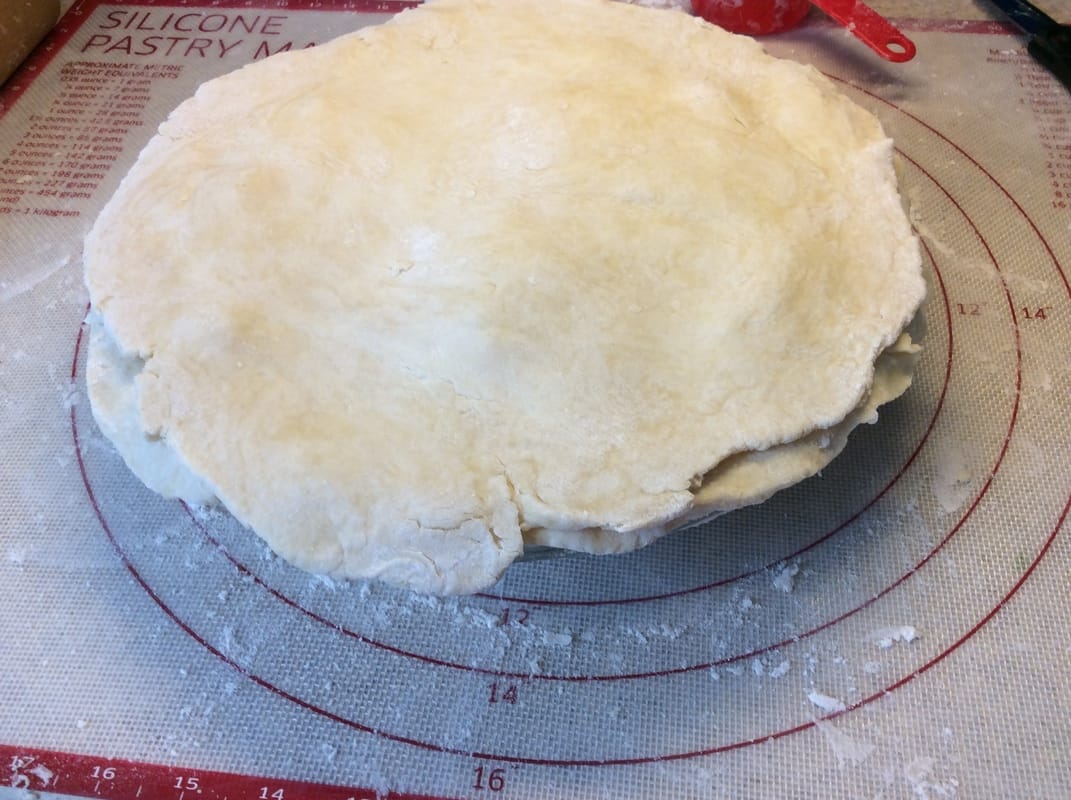
What I found the most difficult about making crust was keeping things cold. Once your hands get in there, you start to warm things up! Use a fork to mix the water in. Rinse your hands, once you have to use them, under cold water. The less you melt the fat, the better the crust is going to be.
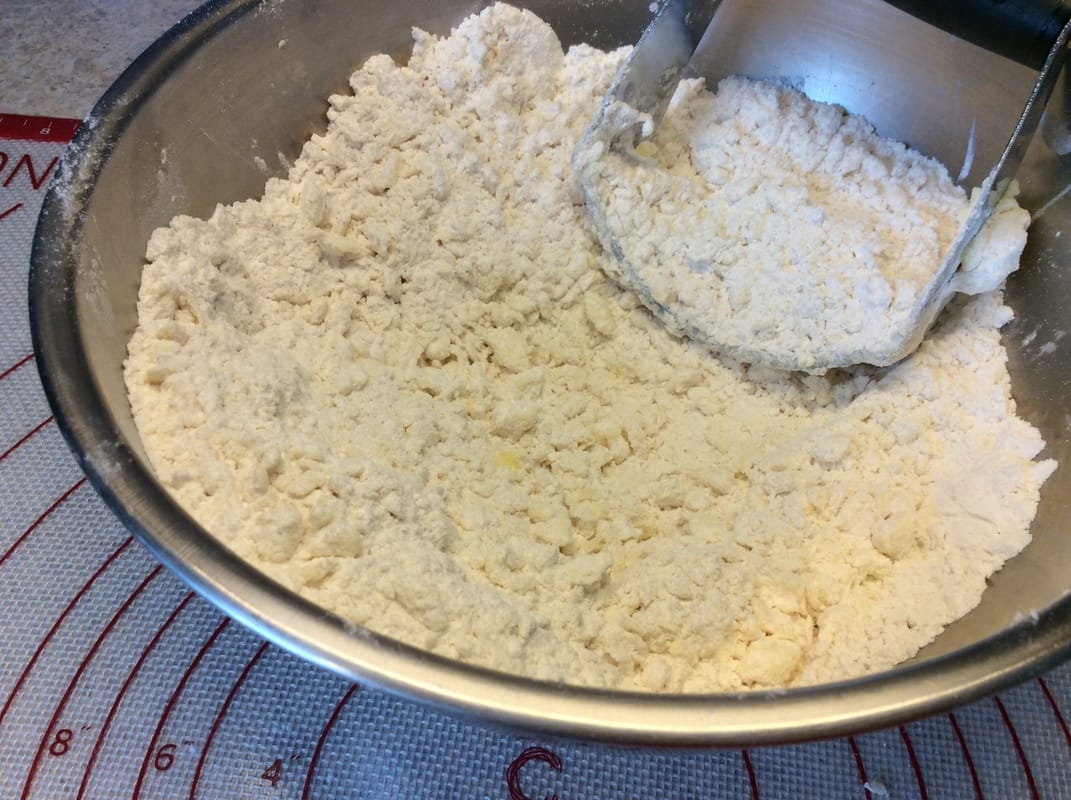
Also, It seems like drier is better. You can add water or flour to make the dough right. Don't panic. After-note: I have found it pretty easy to mix the dough mostly with a fork right in the mixing bowl, and keep minimal hand contact. Try to only use your hands to shape the dough into rounds then put them wrapped into the fridge. |
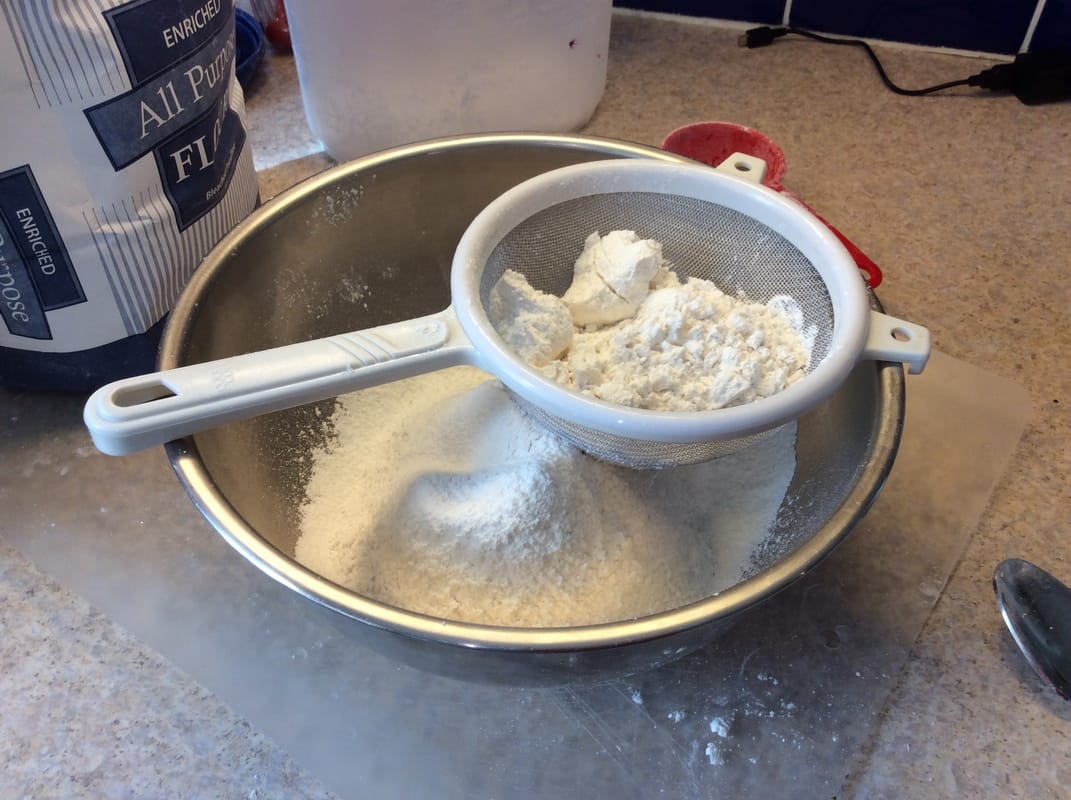
Directions:
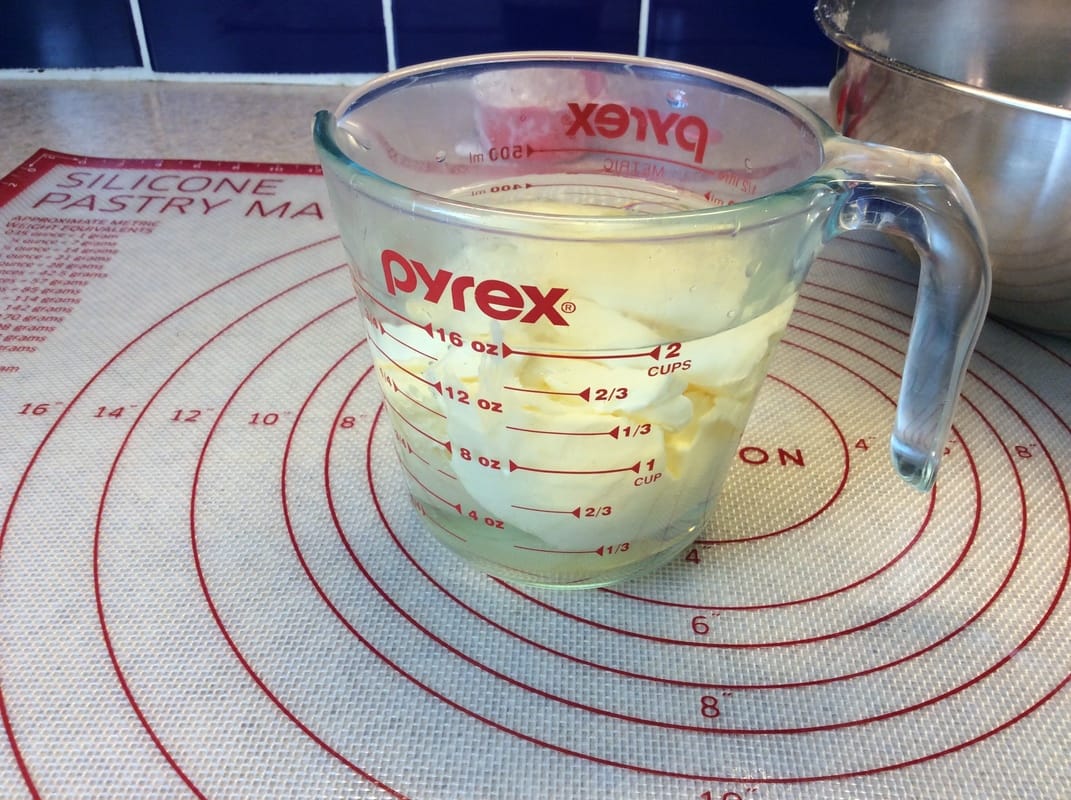
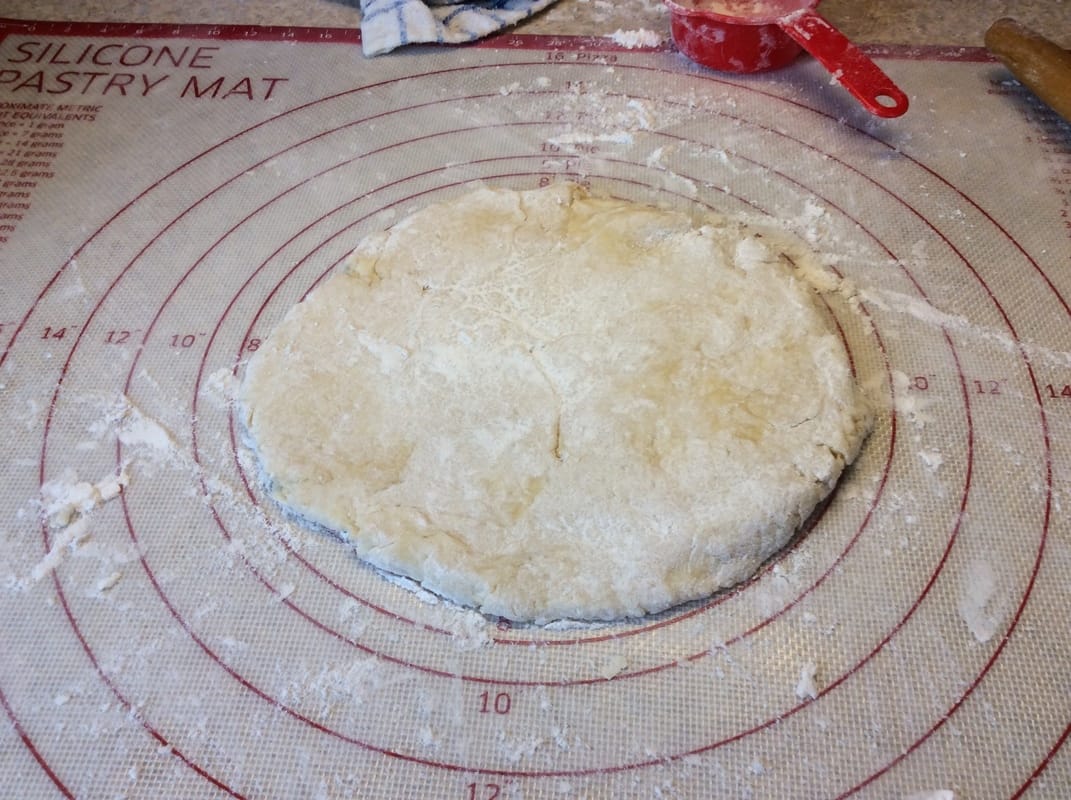
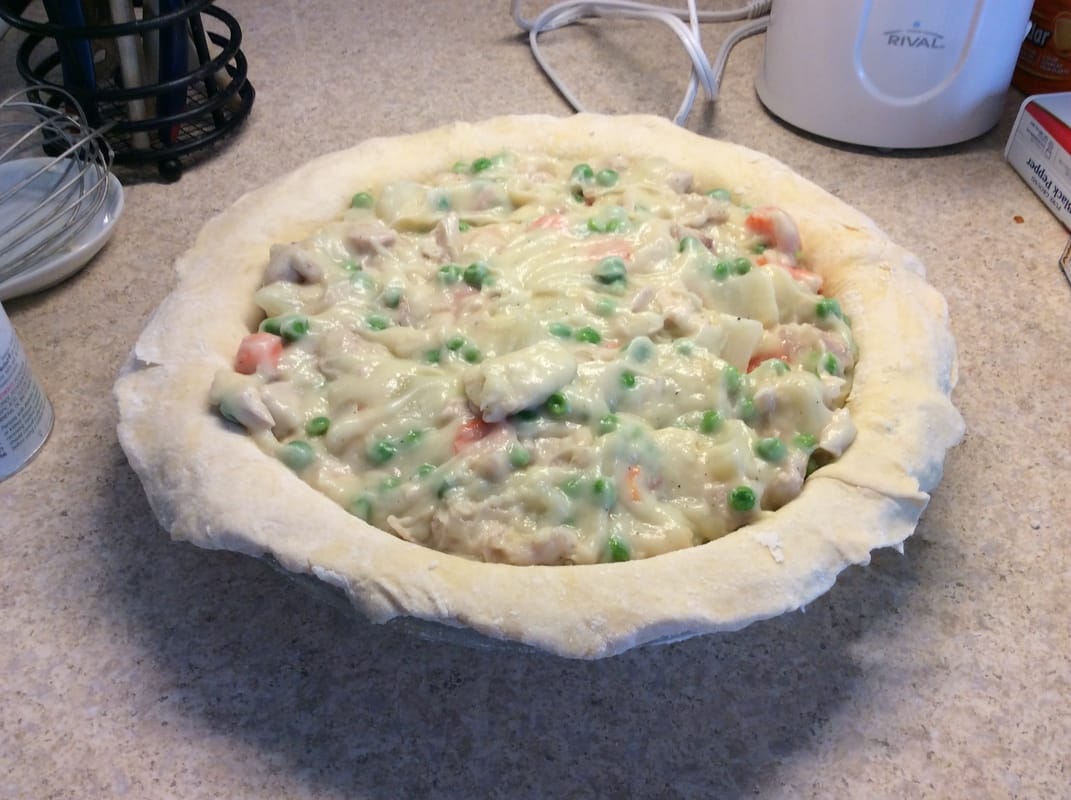
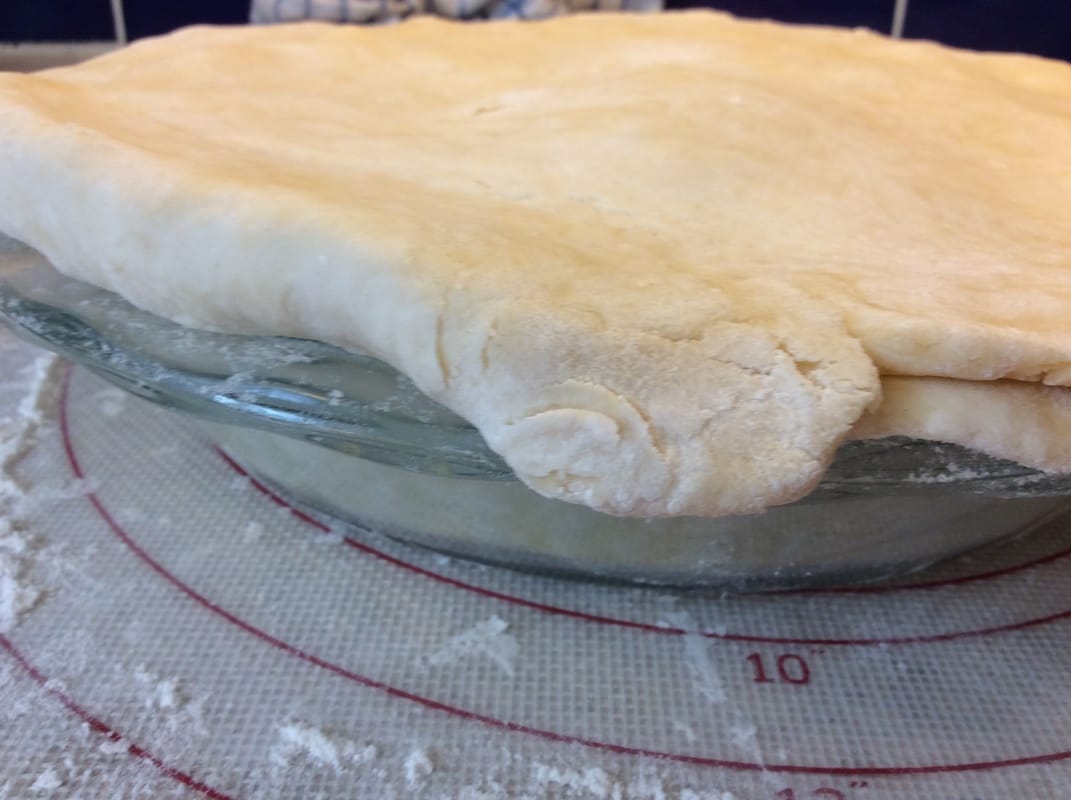
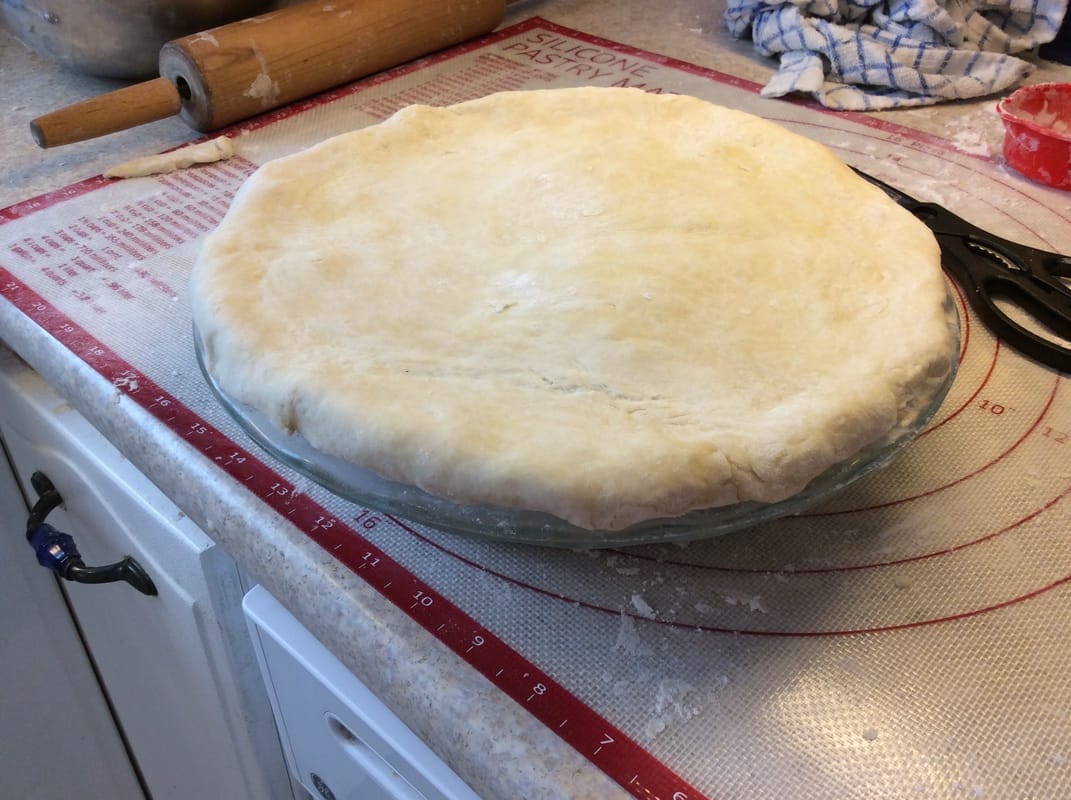
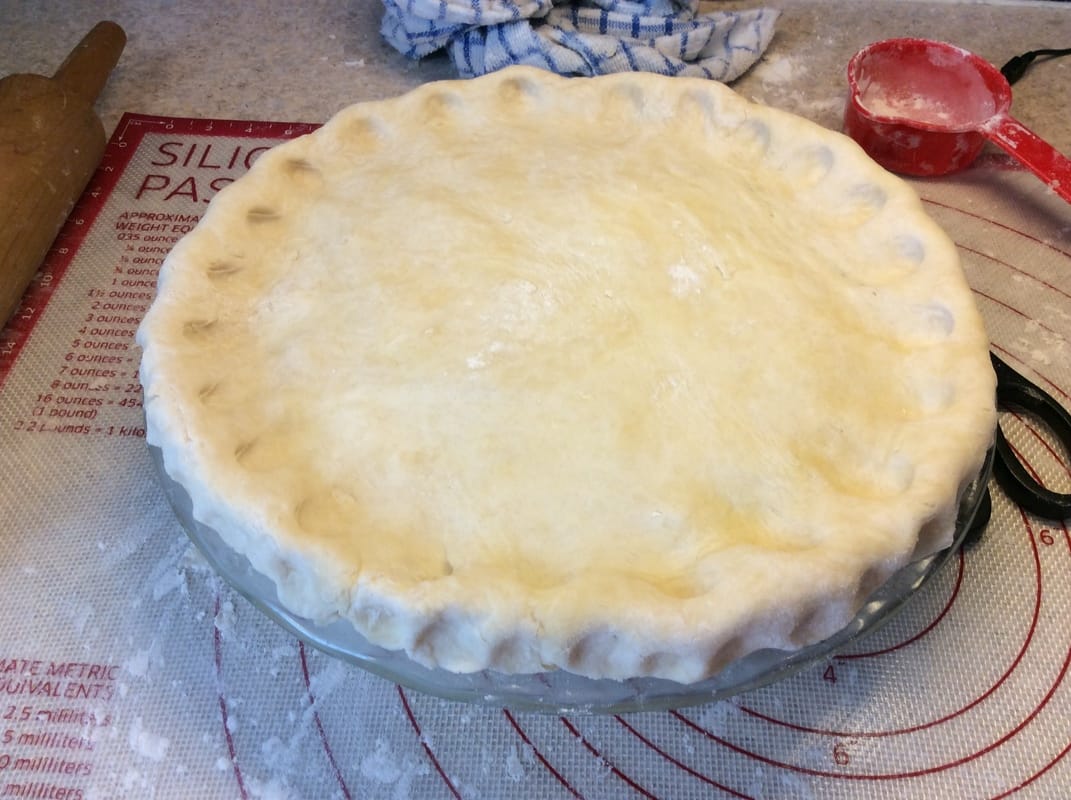
1. Pre-measure shortening and put in refrigerator until ready to use. (I use the displacement method.) 2. Put some ice cubes in a cup or glass then fill with water to have ice water ready. 3. Sift together flour and salt. 4. Add some of the ice water to flour mixture and stir around with a fork to begin mixing 5. Continue adding water, tablespoon by tablespoon and mixing with a fork until a lump of the dough squeezed together with the thumb and index finger doesn't crumble away. (It will still look a bit too dry.) 6. Form the dough into a thick round. For double crust, cut ball in almost-half, the share for the dish being a bit MORE than the share for the top. 7. Wrap the dough round(s) in plastic wrap, and let them hang out in the fridge while you prepare the filling. This gives the flour a chance to fully hydrate. Take each piece of dough out as you need it. 8. Roll out the dough to about 2 inches larger than the pie plate, so it will cover the edges. 9. Place the crust gently into the pie plate, making sure the crust goes at least to the edge and overlapping by about 1/2 inch. 10. For a bottom-only pie, skip to crimping/fluting. ****PUT FILLING IN THE CRUST**** If you're filling and covering the pie, continue: 1. Roll out the remaining dough to about 3/4 inch bigger than the plate. 2. Carefully place dough on top of filling and bottom crust. 3. Trim to just a bit larger than bottom crust. 4. Roll top crust under bottom crust and tuck it in so it will seal when crimped. 5. Crimping/Fluting: Crimp with thumb of one hand (inside rim) and index and middle fingers of the other hand (outside rim) to seal. (Or decorate, for a single crust pie) 6. Cut slits or vents in the top crust to allow steam to escape. 7. Brush top with egg to help browning. 8. Refrigerate pie until it's time to bake, then bake at 350 for an hour or so. Overlap and roll the top edge over the bottom to seal by crimping.
|